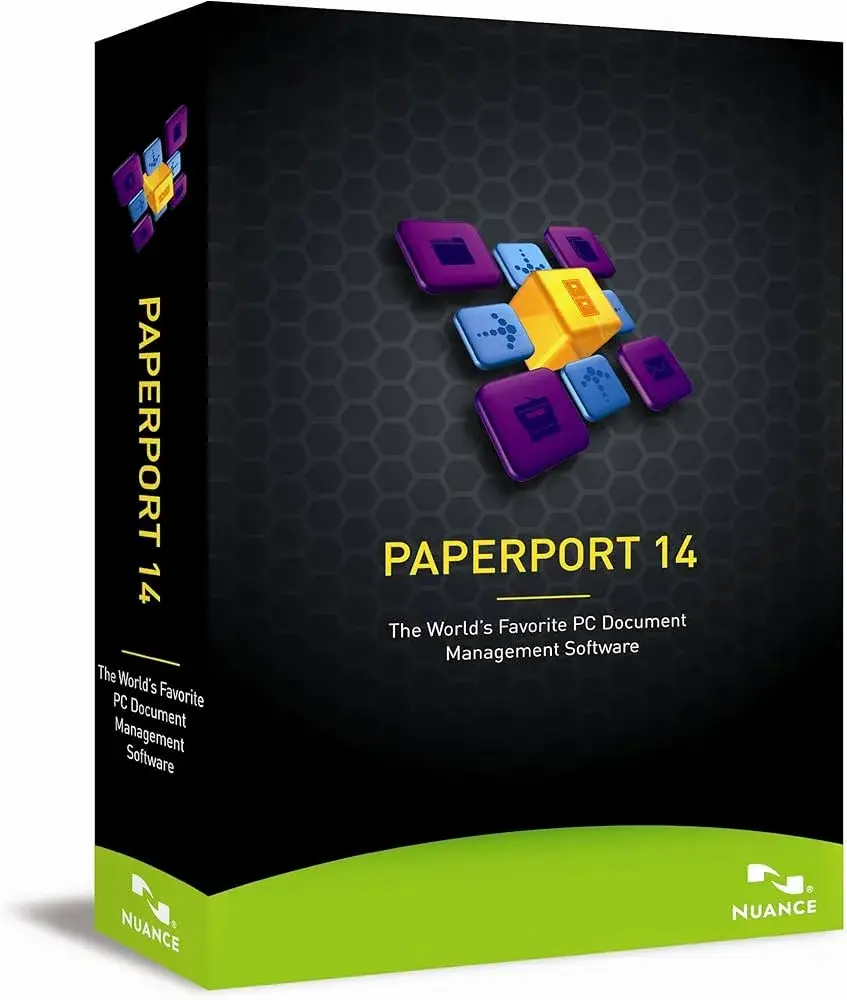
PaperPort, originally developed by ScanSoft and later acquired by Nuance (and now by Kofax), remains a popular document management tool even decades after its first release. However, many users today search for ways to download “Scansoft PaperPort for free” — often without realizing the risks or legal implications involved.
In this guide, we’ll walk you through legal and safe ways to use PaperPort, including trial options, trusted alternatives, and how to run older versions on Windows 11. We’ll also show you how PaperPort compares to modern solutions in 2025, and which version is right for your needs.
⚠️ Is It Legal to Download Scansoft PaperPort for Free?
Short answer: No, unless it’s a time-limited trial, OEM version you already own, or publicly licensed software.
Scansoft PaperPort was always a paid commercial software, even in its early versions. Downloading cracked or pirated versions violates software licensing agreements and exposes your system to malware.
❌ Avoid shady sources offering “free full versions” — these can compromise your files and security.
🟢 Legal Ways to Use PaperPort Today
1. 🛒 Purchase the Official Kofax PaperPort 14.7
Current version sold by Kofax
One-time purchase, available as download or CD
Professional and Standard editions available
2. 🎁 Use a Trial Version (if offered)
Kofax occasionally provides trial licenses upon request. Contact Kofax support to check if you qualify.
3. 📀 Use a Valid OEM or Retail License
If you purchased an HP or Canon scanner years ago, it may have come with a PaperPort OEM version (Scansoft or Nuance). If you still have the CD or license, you can install it legally.
💡 You can often use legacy versions on Windows 11 using compatibility mode.
🧰 How to Install Your Licensed Copy on Windows 11
Locate the installer (from official CD or .exe file)
Right-click → Properties → Compatibility → Windows XP or 7
Run the installer as Administrator
Follow on-screen instructions
After install, check for patches or updates manually (older versions may not auto-update)
📊 Comparison: Scansoft vs Nuance vs Kofax PaperPort
| Version | Developer | Year | Key Features | Windows 11 Support |
|---|---|---|---|---|
| Scansoft PP 9–11 | ScanSoft | 2002–2006 | Basic scanning, OCR, stacking | ✅ (via compatibility) |
| Nuance PP 12–14 | Nuance | 2007–2017 | PDF editing, cloud, FormTyper | ✅ (native or comp. mode) |
| Kofax PP 14.5–14.7 | Kofax | 2019–2025 | Modern UI, Windows 11 certified | ✅ (native) |
🧪 Performance tip: Scansoft versions are lightweight and fast, but lack modern security and cloud integration.
💡 Best Free Alternatives to PaperPort
If you’re looking for legal and free alternatives to Scansoft PaperPort, consider:
✅ NAPS2 – Not Another PDF Scanner 2
Free, open-source
OCR support
Fast and lightweight
Windows 11 compatible
👉 naps2.com
✅ PDF-XChange Editor
Free version offers annotation and editing tools
Premium unlocks OCR
👉 tracker-software.com
✅ DocHub (Cloud-based)
Upload and edit PDFs online
Integrates with Google Drive
👉 dochub.com
🧪 Real Case Example: Running Scansoft PaperPort on Windows 11
👤 “I had an old Scansoft PaperPort 10 CD from 2005 bundled with a Canon scanner. I installed it on my Windows 11 laptop using compatibility mode and it worked flawlessly. The only downside was lack of cloud sync — so I combine it with Dropbox manually.”
– Manuel S., Legal Assistant, Spain
🙋 Frequently Asked Questions (FAQ)
Q: Is PaperPort 14.5 still compatible with Windows 11?
A: Yes. Versions 14.5 and later are natively supported.
Q: What if I lost my old Scansoft serial number?
A: Unfortunately, those versions are unsupported. It’s safer to upgrade to Kofax PaperPort.
Q: Are there free online PaperPort clones?
A: Not exact clones, but NAPS2 and PDF-XChange are solid alternatives.
Q: Can I activate an old OEM CD on a new PC?
A: Usually yes — if the license key is valid and not hardware-bound.
✅ Conclusion
While downloading Scansoft PaperPort “for free” may seem appealing, it’s neither legal nor safe unless you’re using a trial, OEM, or legacy version you own. Fortunately, there are modern, legal options — from purchasing Kofax PaperPort to using lightweight free tools like NAPS2.
If you’re a professional user, investing in the official PaperPort Professional edition can unlock advanced OCR, batch scanning, and better compatibility with modern Windows systems.
📌 Key Takeaways:
Never use cracked software: risk of malware and legal issues
Use compatibility mode for old installers
Consider upgrading to Kofax PaperPort 14.7
Try legal free tools like NAPS2 if you’re on a budget
👤 About the Author
This guide was prepared by WhatIsNuance.com, a trusted source of document management tutorials and comparisons.
📅 Last reviewed: July 10, 2025
📬 Questions? Contact us at contact@whatisnuance.com


